
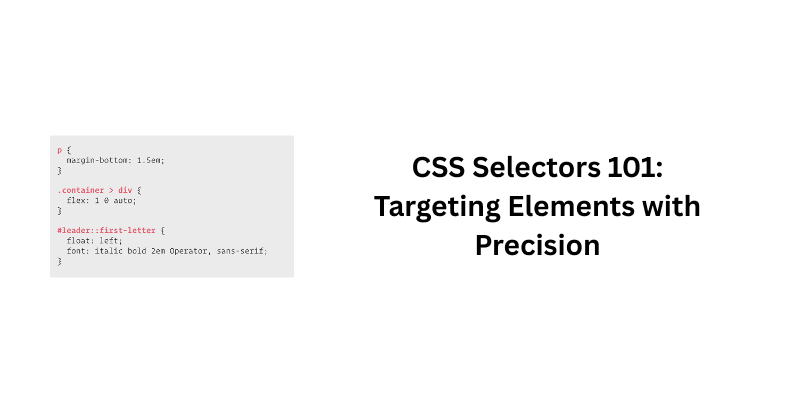
CSS Selectors 101: Targeting Elements with Precision
You can’t style what you can’t catch. Here is the art of pointing your "design megaphone" at the right elements every single time.
If you yell, "Everyone, put on a red hat!" → That’s an Element Selector.
If you yell, "Everyone in the front row, put on a red hat!" → That’s a Class Selector.
If you yell, "Hey, Steve from Accounting, put on a red hat!" → That’s an ID Selector.
CSS (Cascading Style Sheets) is exactly like that megaphone. You can write the most beautiful design code in the world—colors, fonts, shadows—but it is completely useless if the browser doesn't know who you are talking to.
Here is how you target elements without losing your mind.
1. The Broad Brush: Element Selectors
This is the "shotgun approach." You use the actual HTML tag name.
If you write:
CSS
p {
  color: blue;
}
You are telling the browser: "Find every single paragraph (<p>) on this entire website and turn it blue." No exceptions.
When to use it: When you want to set broad defaults (like making all text dark grey or setting the default font for the whole page).
2. The Team Jersey: Class Selectors
This is the one you will use 90% of the time. Classes are like team jerseys. You can give the same class name to as many different elements as you want.
In your HTML, you give them a nickname: <button class="btn-primary">Click Me</button>
In CSS, you target classes with a dot (.):
CSS
.btn-primary {
  background-color: orange;
}
Now, only the elements wearing the "btn-primary" jersey get the orange background. The rest are safe.
3. The Social Security Number: ID Selectors
ID stands for Identifier. By the rules of HTML, an ID must be unique. You cannot have two elements with the same ID on the same page. It’s personal.
In HTML: <div id="main-header">...</div>
In CSS, you target IDs with a hash (#):
CSS
#main-header {
  height: 500px;
}
Warning: Beginners love IDs because they seem precise, but they are rigid. If you want to reuse a style later, you can't. Stick to classes unless you have a very specific reason not to.
4. The "Don't Repeat Yourself" (Group Selectors)
Let's say you want your h1, h2, and p tags to all have the same font. You could write three separate rules. Or, you could be lazy (in a good way).
Use a comma to group them:
CSS
h1, h2, p {
  font-family: "Arial", sans-serif;
}
It’s efficient, clean, and easier to read.
5. The "Russian Doll" (Descendant Selectors)
Sometimes, context is everything. Maybe you want to style a link (<a>), but only if it is inside your navigation menu, not the links in your footer.
You use a space to indicate "inside":
CSS
nav a {
  color: white;
}
This translates to: "Find a nav tag, then look inside it for any a tags, and style those." Any link outside the nav is ignored.
The Great Battle: Who Wins? (Specificity)
Here is the most annoying part of CSS for beginners. What happens if you have two conflicting rules?
CSS
p { color: red; }      /* Element selector */
.text { color: blue; } /* Class selector */
If you have a <p class="text">, is it red or blue?
It will be Blue.
CSS has a hierarchy of power (Specificity):
ID Selector (
#id) - The Heavyweight Champion (Strongest)Class Selector (
.class) - The MiddleweightElement Selector (
p) - The Featherweight (Weakest)
The browser listens to the rule with the highest specificity score. This is why we use classes for almost everything—they are strong enough to override defaults, but not so strong (like IDs) that they become impossible to override later.